|
 |
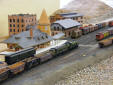
E2 0-8-0 (wooten
cab) Switcher kitbash - by Alan Mende
- photos only
in support of MR March 2010 article
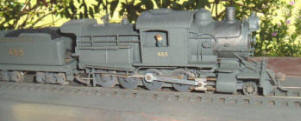
E2 0-8-0 (wooten
cab) Switcher kitbash - by
Robert McGlone
- photos only
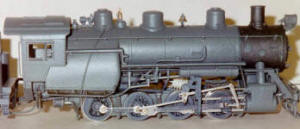
B6s 0-6-0 (standard
cab) Switcher kitbash - by Alan Mende
- photos only
in support of RMC November 1999 article |
1) start by getting a
Mantua
4-6-2.
2) grind off all the wrong details, but leave the covered turret, the
long air tank on the
fireman's side, and steam dome. Try to
grind/file off the sanding valve covers, but leave the sand box.
>>
more |
G3s/P47
4-6-2 (standard cab) Pacific
kitbash
- by Doug Hunt
-
how to text |
|
 |
M2 & M3
2-8-2 (standard cab, wooten firebox) Mikado
Kitbash
- by Victor Roseman
-
how to text
M2as 2-8-2 (standard cab, wooten firebox) Mikado
Kitbash from BLI M1 - by Doug Hunt
-
how to text & photos |
|
|
K1
4-8-0 Camelback - by
Robert McGlone
-
how to text & photos
I5 2-6-0 Camelback
- by Robert McGlone
-
how to text & photos |
|
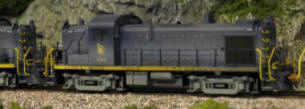 |
RS3 / RSD4-5 -
by
Nick Salerno
-
how to text & photos |
|
 |
Boxcab - upgrades to
Aristocraft model - Alan Mende
-
how to text & photos |